
As most owners of Roland JD-800’s know: sooner of later the keys will stop functioning correctly. If it’s not the infamous red glue issue it’s the flexible circuit board that will break. The red glue can be an easy fix (especially if you fix it before it becomes a problem) but the flexible circuit board that runs underneath the keys is a bigger problem.
This is a picture of the problem area:

In the picture above you can see a blue and a green flexible circuitboard that are somehow glued together. The blue part is bent 180 degrees and connects to a small pcb on the bottom of the frame. Because of this bend there is a lot of tension in the blue print. The only thing holding everything together is the transparent plastic strip on top of the joint. Typically the first connections that will fail are the ones in the middle. This connection will come loose at some point. It has 24 traces, if just one comes loose 5 to 7 keys will stop working.
I have 2 JD-800’s. The first one worked fine for years until I powered it up a few months ago.. half the keys where dead 😦
The second one I bought with some keybed issues. I have tried several things with the second one as I described in another post. I even used a soldering iron on a low temperature setting to reattach the blue print the the green one. This actually worked! For a short while.. On a Roland D-70 (which has a similar construction) I tried replacing the blue cable with a bunch of wires I soldered to the transition board on one side and used something called ‘wire glue’ to attach them to the green flexible pcb. (wire glue is carbon filled conductive glue) Also worked fine but is an ugly solution:

Anyway.. the internet is full of these hack jobs that might work but do you want this solution if you want a reliable keyboard?
Roland actually made a replacement part for this where the green and blue parts where unitized as one part. These sold out many years ago. There is actually one for sale on Reverb while I’m typing this for 999 dollar! Advertised as the ‘JD-800 survival kit’.
Thanks to Guy Wilkinson this problem can now be fixed in a professional and permanent way! He went though all the trouble in designing a completely new circuit board which not only looks better than the original but is of superior quality as well. Check his site Super Synth Projects to read more about this process and check out his other projects!
I received 2 pcb’s from the first prototype production run to repair my own JD-800’s. Finally I’ll have two working JD-800’s again 🙂 The new circuit boards look so nice:


They came with a new transition PCB because the connector from the flexible pcb is different. I had to desolder the connector for the mainboard and aftertouch from the original transition PCB and solder them onto the new board:


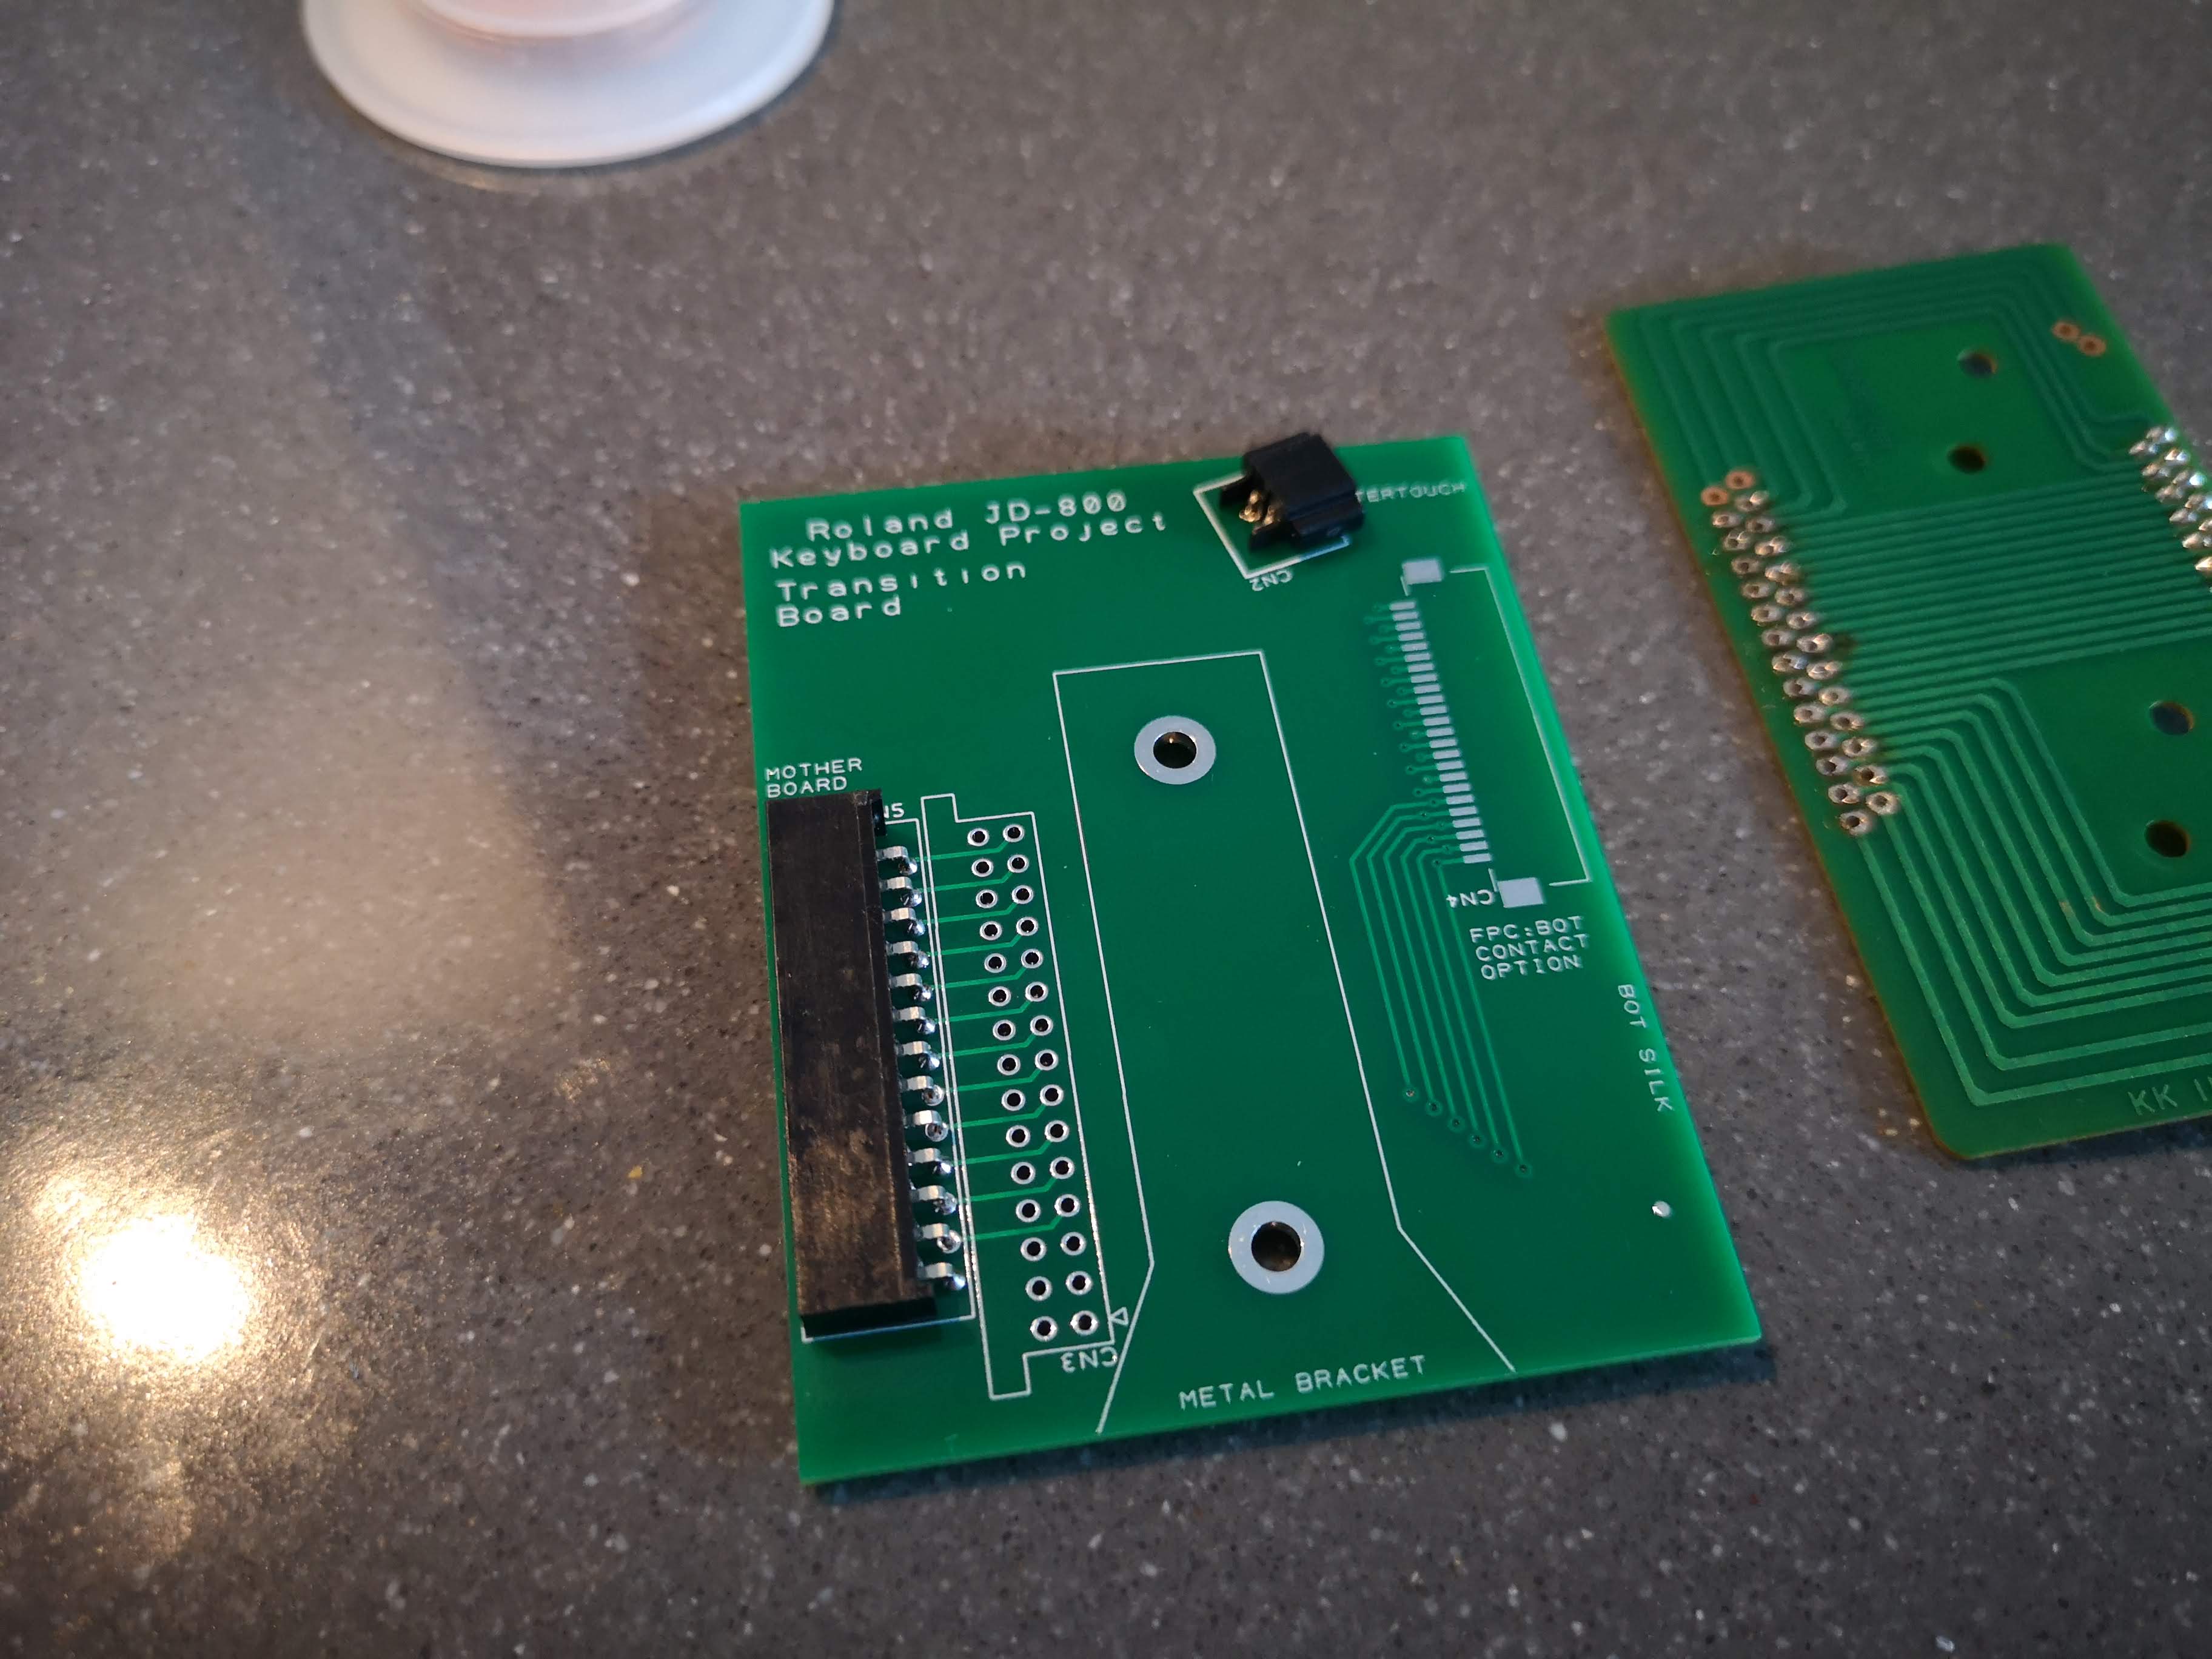
The white SMD soldered connector for the new red/gold flexible circuit was already soldered onto the new transition board. I believe he couldn’t get the motherboard and aftertouch connectors anywhere so you’ll have to scavenge them from the old transition board. As you can see in the picture above, if you are not able to reuse the original vintage obsolete unobtainable connector you can use a standard IDC connector. Very clever. You’ll have to also sort out the problem on the other side on the JD-800 mainboard though..
From there on it was simply installing the keys and put the whole assembly back into the JD-800:


Then came the first moment in a loooooooooong time when I switched this JD-800 back on again. Got my headphones and played the keys. They all work perfectly again! 😎

Many thanks to Guy Wilkinson for making this possible!


How i can buy it? It’s amazing!
Thank you
LikeLike
Hi Benedito,
You can purchase the item here:
Regards, Jorick
LikeLike